
Q: How to add a file to the text editor
Q:How to add a file to the WYSIWYG text editor

A:WYSIWYG stands for "What You See Is What You Get," also known as a visual editor or HTML editor. It refers to editing text directly on the screen to display the final result. The editors used in the Moodle platform are the Atto editor and the TinyMCE editor. Below are the steps to attach a file using the Atto editor and the TinyMCE editor, respectively.
Atto Editor
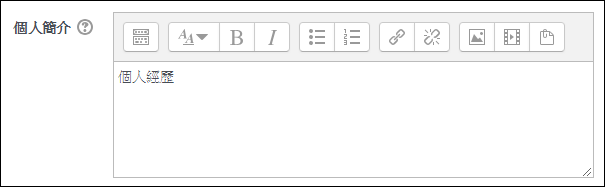
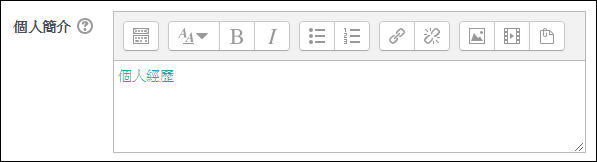
1. Enter text in the editor (after inserting the file, users can click on this text to view the file).
2. Select the entered text and click on "Link".
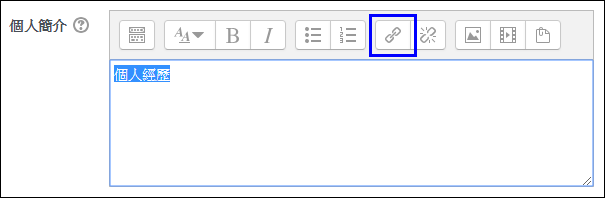
3. Click on "Browse repositories".
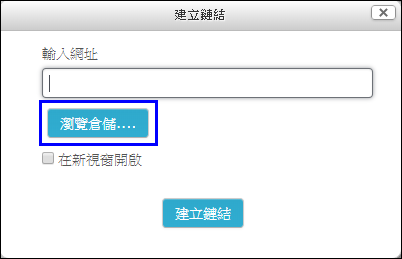
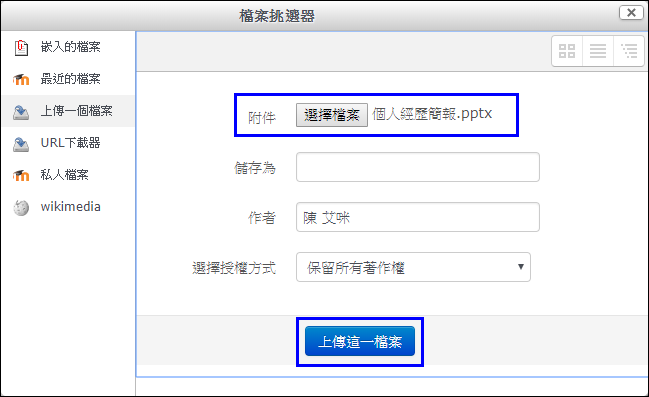
4. Click on the "Upload a file" page, then click on "Choose file" to select the file. Once the file is selected, it will be displayed next to the button. Finally, click on "Upload this file".
5. The displayed text will become a hyperlink. Click "Save" to finish.
TinyMCE Editor
The operation steps for the TinyMCE editor are very similar to the Atto editor, with slight differences in button names:
1. Enter text in the editor. (After inserting the file, users can click on this text to view the file.)
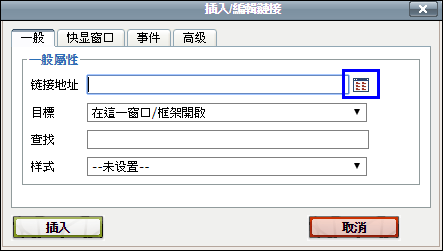
2. Select the entered text and click "Insert/Edit Link".
3. Next to the link address, click the "Browse" button.
4. Click on the "Upload a file" page, select "Choose file", select the file, which will be displayed next to the button. Click "Upload this file". Once the file is uploaded, click "Insert".
5. The displayed text will become a hyperlink. Click "Save" to finalize.
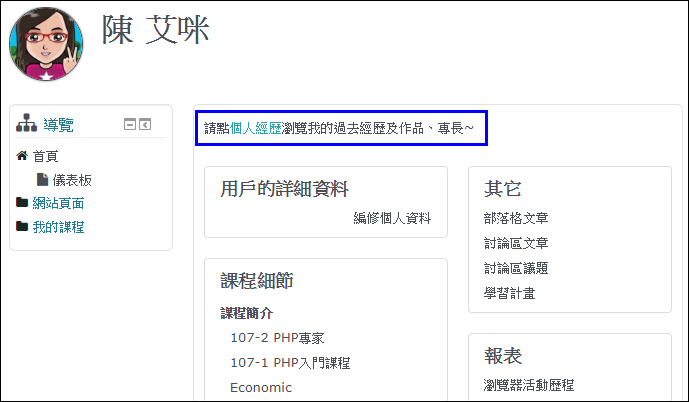
Viewing Interface
Text with attached files will be displayed in a different color. Click on the text link to view the attached file.